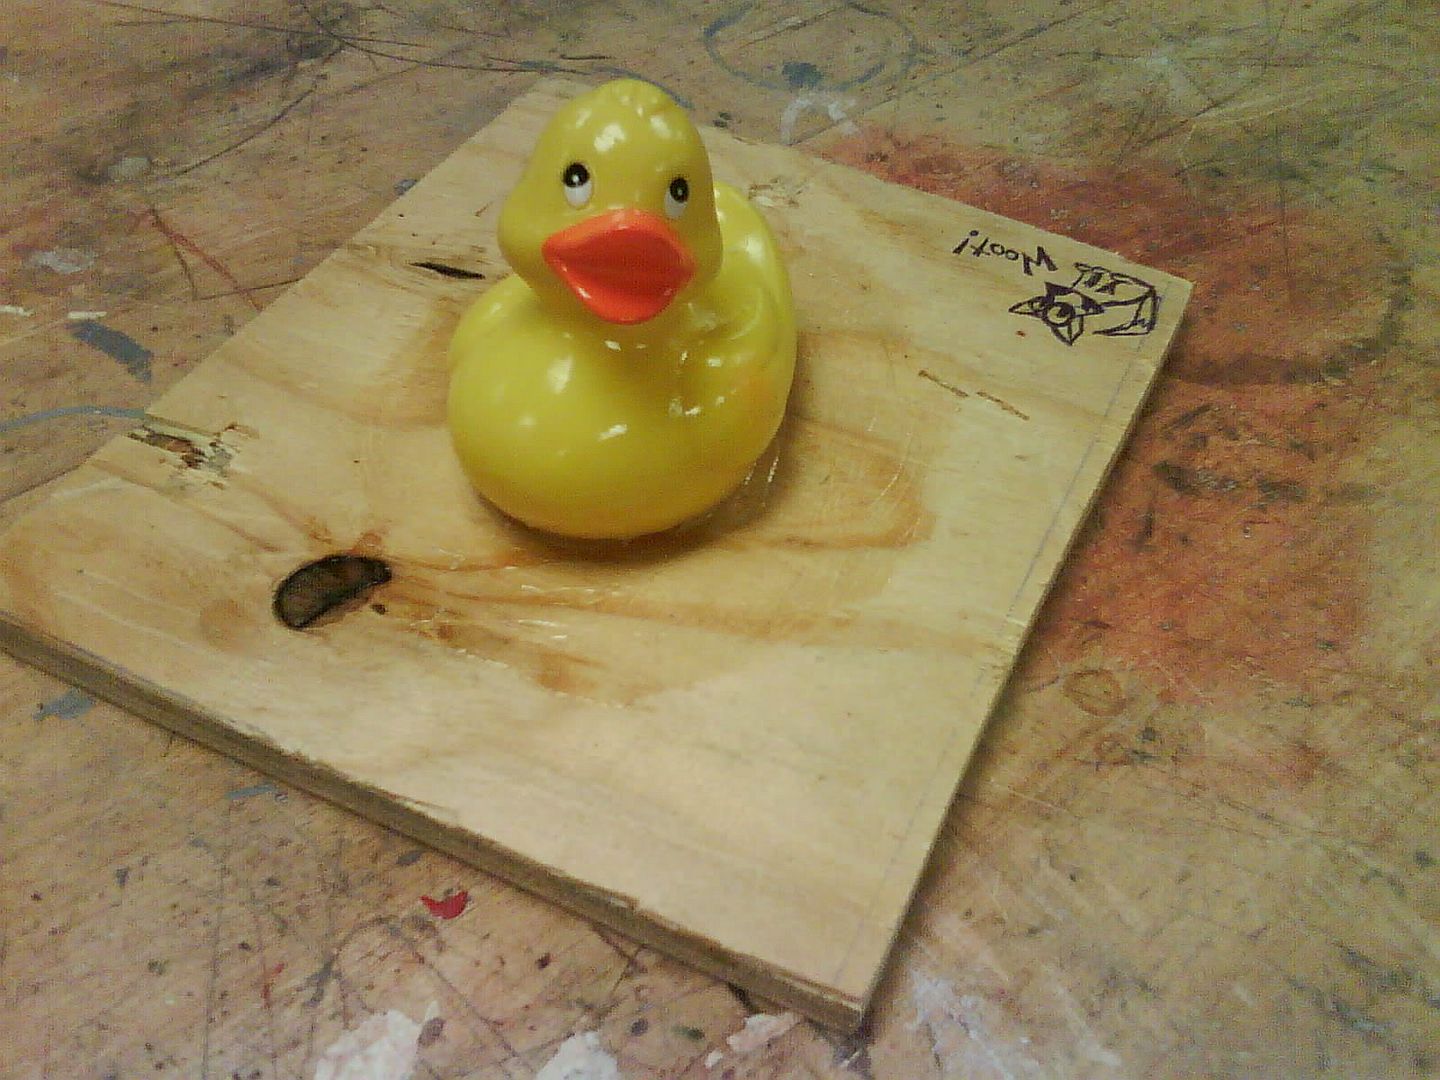
1. The first step is to find yourself an object. I chose a rubber ducky because I wanted to make it have the opposite function it normally has i.e. it would be a sad, sinking toy.
Once you have found the object you want to cast, glue it to something sturdy, like a slab of wood, and then cover it with a thin layer of Vaseline.
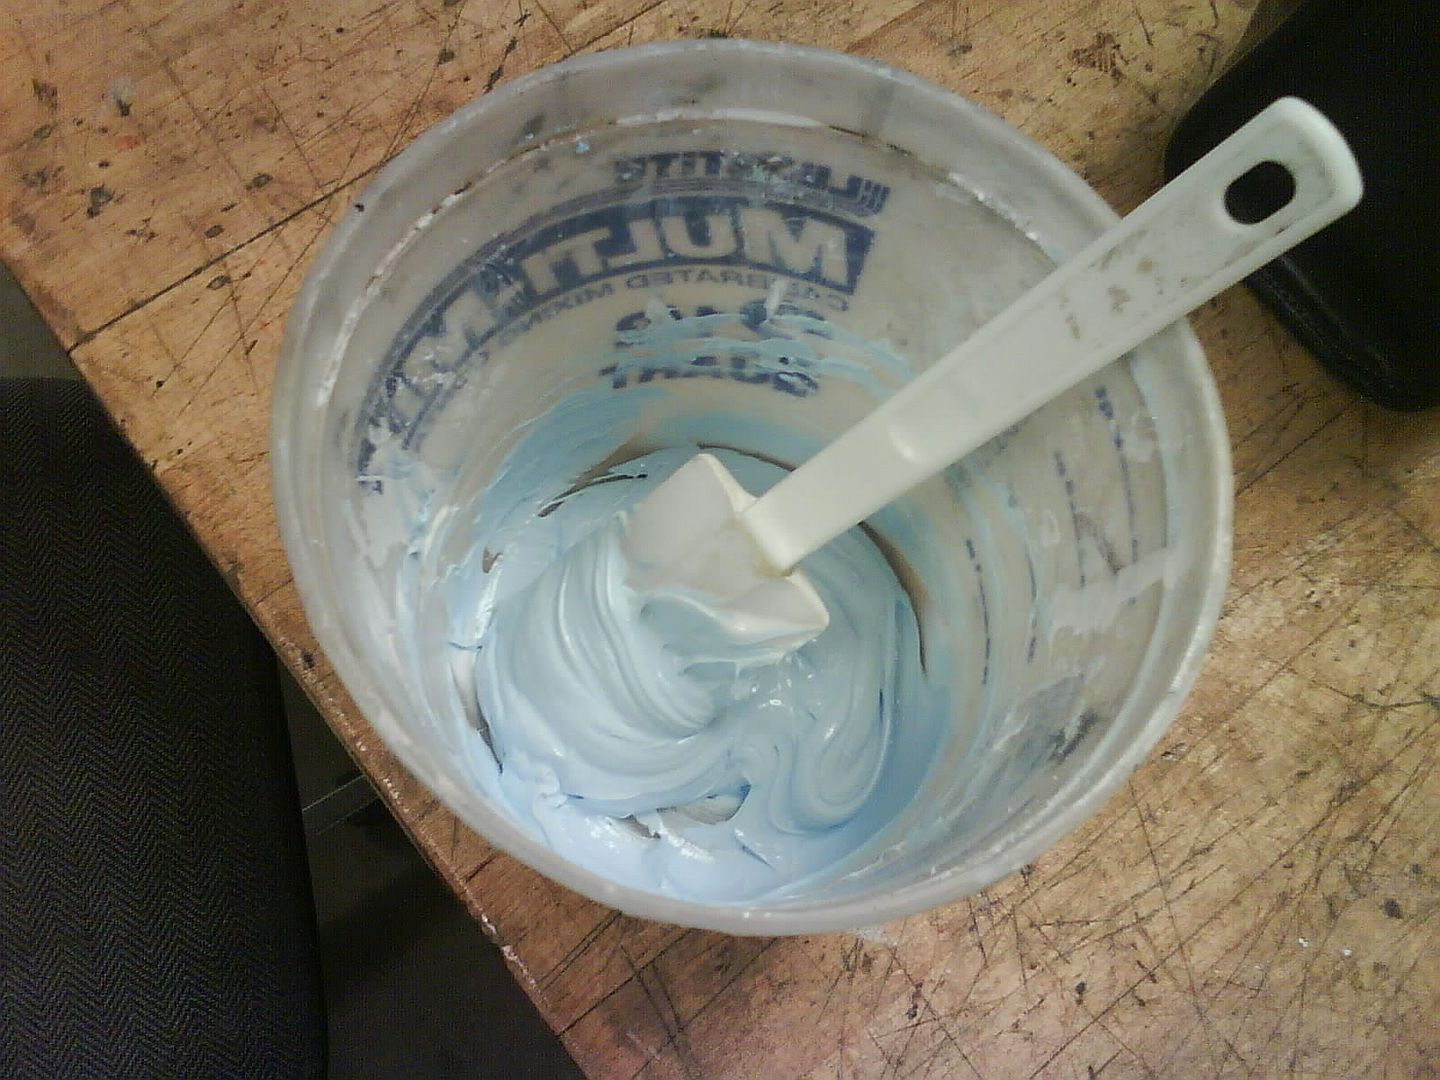
2. The next step is to mix the silicon that will soon be covering your object. You have to be pretty precise when doing this, otherwise it will harden too fast, or not harden at all.
For our silicon mixture, we used:
10 parts TINSIL 70-25 RTV SILICONE RUBBER part B
1 part TINSIL 70-25 RTV SILICONE RUBBER part A (the catalyst)
*We added a thickening agent to Part B before we added part A so the silicon wouldn't slip off of our objects. For the mixture below, only a dimesworth of thickening agent was needed.
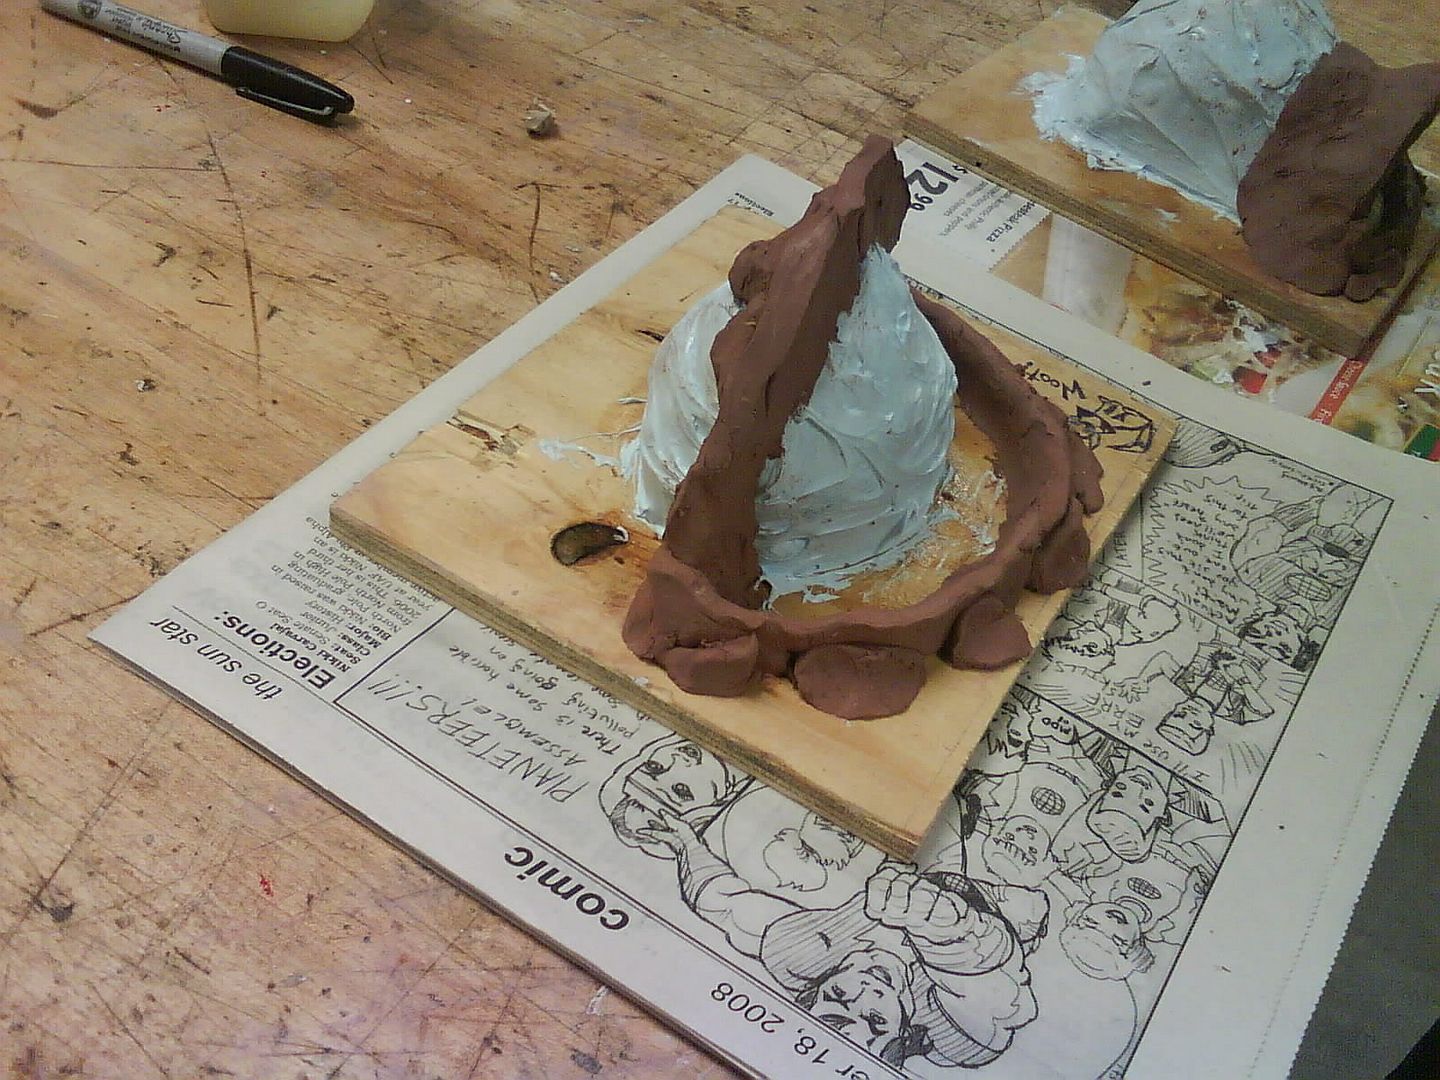
3. Once you've mixed the silicon completely, apply it to your object. Usually people use an old paint brush that they don't care about destroying, but that day we didn't have one, so we used a plastic knife I found in my backpack.
It's very important to make the walls of the silicon thick, so another layer for an object this size was necessary. After waiting 24 hours, repeat steps 2 and three to add a second coat.

4. After you've waited another 24 hours for the second coat of silicon to dry, you can begin to form the protective and preserving layer of plaster on top of the object. It's a good idea to cover half of the object with plaster, let it dry, and then move on to the second half. The reason for this is because you need to be able to easily split it apart so you can take your silicon mold out every time you fill it with material.
To separate one side from the other, we used clay.
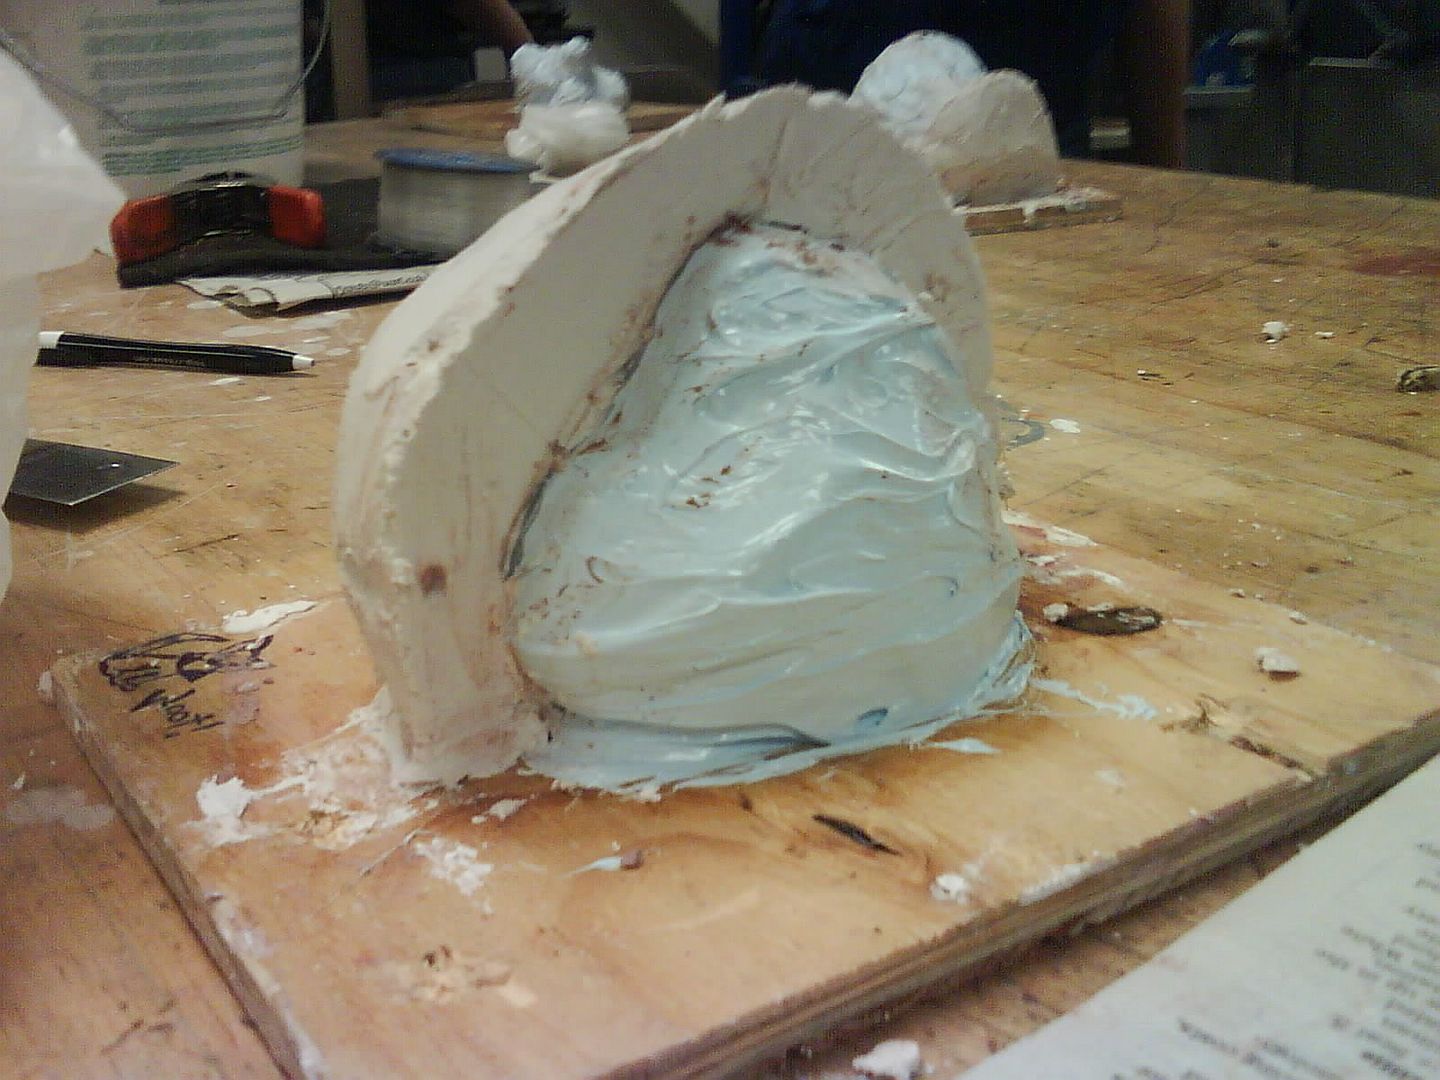
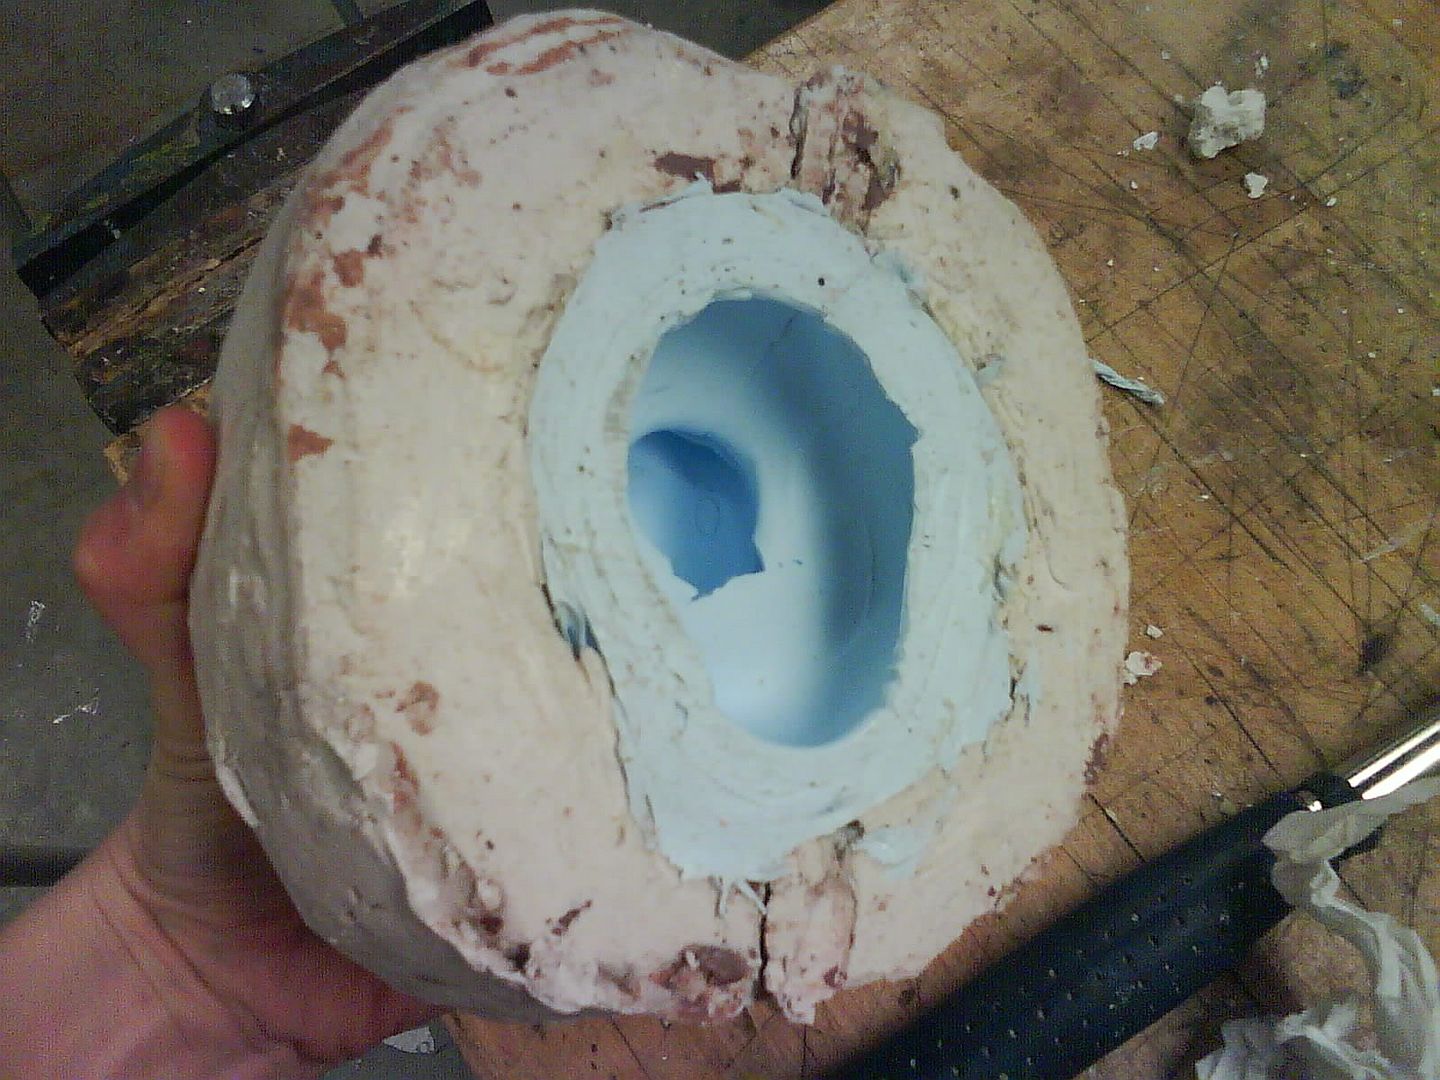
5. Once the first side dries (which usually happens in less than twenty minutes), You can begin adding plaster to the other side. When all of the plaster is completely dry, carefully separate the sides with a hammer and chisel.

6. Now pour whatever you want into your awesome new mold (preferably something that won't damage the silicon). I used resin and cement for my ducks, but I saw others use plaster and even glue to make their objects.
*Note: You will need to use wire or a rubber band to ensure that your plaster stays together firmly. I used duct tape...and we all laughed and laughed as we called it Duck tape...
...the poorly ventilated fumes in the sculpture studio did some damage this semester...
Here's a picture of the first ducky I made. It's the only resin one I have. All of the other ones I made were out of cement, which you will likely see soon :)